Privacy policy

Showing posts with label albums. Show all posts

Saturday, 23 June 2018

Little folded book

Ive had house guests and been unable to craft or blog for over a week. While they were here I was frustrated and impatient to disappear off to my studio. Of course once they departed I found I had lost the muse and it took several days of false starts to get back into any creative flow. I wanted to join in with several June challenges and started making a flag book. I was taking lots of shots of each stage but its not easy to get going if you are too self conscious of the process. I decided to put that project aside and got out some patterned paper and my new tubes of Tim Holtz design tape. I have seen lots of lovely projects by Astrid Maclean and others using it, recently I succumbed bought a selection.


I was thinking about the Mixed Media Monthly final challenge. They are "Wrapping it up." So sad to see this challenge blog go but it is hard work and they are all still blogging on other sites so the inspiration will continue I'm sure. This is my offering for wrapping it up.


I used some really old paper from Prima's 'Printery' collection and Heidi Swapp's 'Vintage Chic' collection. I used some stamp illustrations from an old stamp catalogue.


The illustrations in this book are lovely. I think they are nicer than some actual stamps, the detail in the engraving and printing is so fine. As they are all black and white I can colour them to suit any project. One of the Heidi Swapp papers has the exact colour of Tim Holtz's cracked pistachio Distress Oxide ink. I used it throughout along with some Gathered twigs distress ink and Potting soil archival ink. I added some of Ranger's rock candy crackle paint to the cover. I added old book pages cut up into words a bit like the chit chat words. I have put a link below for the pretty bird scraps, more long horded items!


On the final page I used a pressed flower from last summer.


I finished this little book in one session. It was just what I needed - to get lost in the pleasure and satisfaction that creating can provide.


Although I took no photos of the making I have photographed each of the five pages/sections.
I used a tutorial from Kay Williamson on Club Scrap  LINK If you fancy trying to make this book her tutorial is very good. I made mine a little bigger cutting 5x5 inch squares and 2 1/2  inch covers. I dont know what this style of folding pages is called. Do let me know in the comments if you do.


Materials used:
Tim Holtz Idea-ology Design tapes: Remnants, Elementary,Humidor
Prima Printery 8x8 paper
Heidi Swapp Vintage Chic 8x8 paper
Ranger Distress crackle paint - clear rock candy
Cracked pistachio Distress Oxide ink
Gathered twigs distress ink
Ranger Archival ink - potting soil
Board for covers (from back of a sketchbook)
old book text and images
Bird scraps LINK


Im entering this in:
Mixed Media Monthly challenge #49 which is thier "Wrap it up"


Mini Album Makers June Challenge


Wednesday, 16 May 2018

Rusty Tag Book

The Mixed Media Monthly for May is Rust. Rust often comes up as a challenge topic but it is something I have never used but is that not one of the meanings of the word challenge?  One of the benefits of blogging is that I look at what others are up to more often. If you have read previous posts you know I have tried the new Seth Apter and Emerald Creek's new embossing powders but so far I have only managed to get the deep sea and vintage beeswax. I decided to try and mix some of my existing powders up and create some rust effect. I thought tags would be a good way to test it out. I started with a couple of colours of distress ink.
I did a bit of spritz and flicking and darkened the edges with more distress.
I stamped lots of images in Versamark and clear embossed them. I also did some stamping in Seinna Archival ink. I darkened the tags down with several brown distress inks. The clear embossing acts as a resist so the golden, green and orange tones popped through.
I spritzed with water and used lots of Rusty Car and a little Golden Sands Paperartsy Infusions.
They were already looking a bit rusty.
Next I selected some embossing powders to try and mix up my own rust. I used lots of Vintage Photo, a pinch of Black Soot, a tiny bit of WOW Copper, a pinch of Chinese Red and a couple of pinches of Terra cotta. It was meant to be a fun experiment so no exact measurements here!
I  decided I wanted to make a tag book with them as they were looking interesting. So I worked some Versamark over the edges at the ring end which would be the open end of the book "pages." After covering in the rusty powder mix and heating I think they did look rusty. Might use more Terra cotta next time though.
I decided to use some illustrations from an old technical book I have been keeping for years. Finally realized there is never a perfect time to use it just DO IT.
Having got over this procrastination I think they work OK on these grungy little pages. Dont you think makes them each seem more precious and significant than the original book?
I made a spine hidden hinge as there is no need for expansion I used a simple accordion fold and no space between each hing.
I glued each of the pages onto one hinge and held them tight with a bulldog clip to let the glue set.
While the glue set I cut two board covers shaped like tags. I used Prima Craftsman paper to decorate the front and inside covers. I used distress ink to darken the edges inside and out
I wanted to make the covers more like the pages of the book so I used the Rusty Car Infusions again Then I had to make more rust powder as I had used my concoction all up. I added rust to the cover mainly round the edges.
I used the keyhole plate from Tim Holtz's Hardwear Findings Sizzix die to make hinges for fastening the covers to the book on the inside.
Of course they were 'rusted' too. This is definitelymy favorite illustration - Fig 420. the text makes me smile. Perhaps I am mistaken, I cant imagine ever soldering with a potato, who even knew it was possible!

I glued the covers on and left it to dry. While I waited I made more rusty fixings for the outside cover and spine binding.Once these were glued on I punched holes in the spine so they were tags too.
 
If you have made it this far thanks for your paitence. If you explain the process it does make a long post.
I am entering this little book in  Mixed Media Monthly #48 challenge which is "Rust"


Also entering the Emerald Creek Challenge which is Rust  #ECMAY2018
Im joining in with Mini Album Makers Monthly Challenge


Thursday, 22 March 2018

Graphic 45 Album

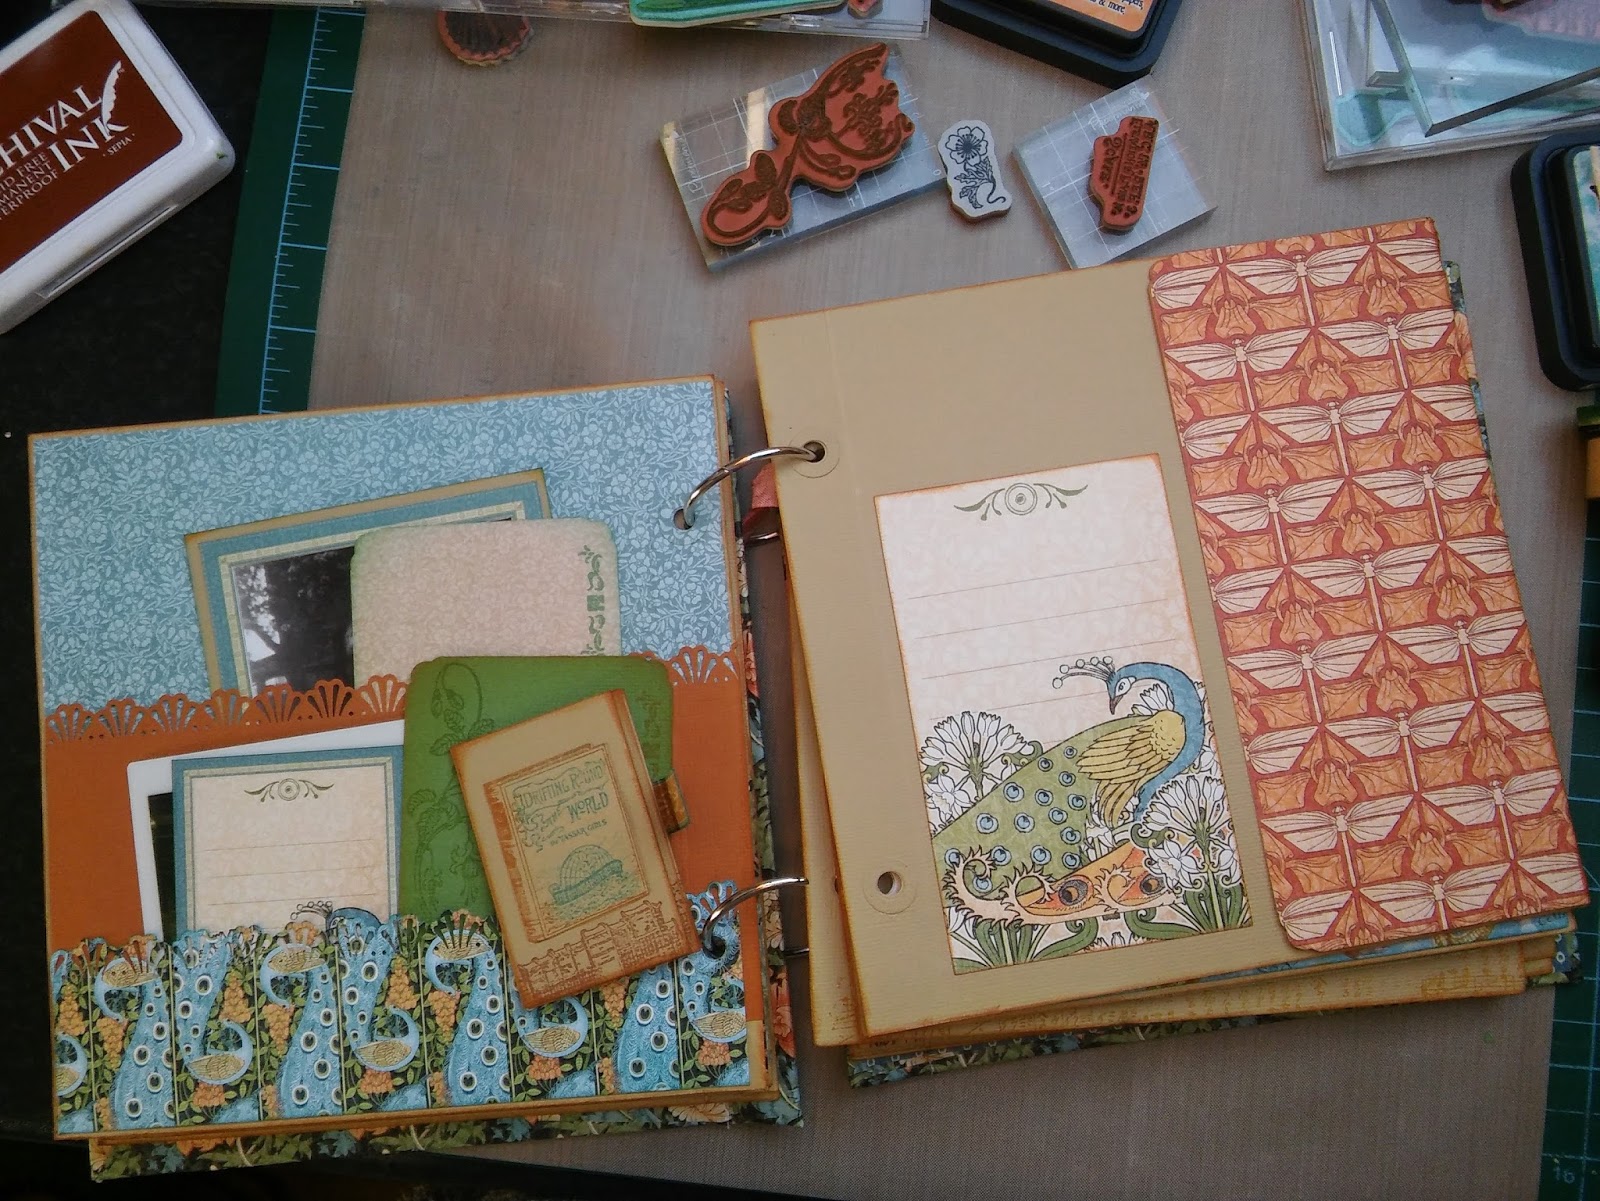
Album using Graphic 45 papers from the Artisan Style and By the Sea paper collections. This album was made for keeping pictures of my Dad who we lost recently. I made the album for my Mum. As she gets a bit confused I have kept to a very simple clear structure for the pages with just a few flaps and easy to spot pockets.
I think my favorite part of the album is this little book which holds some of his old passport photos.
I have tried to use papers that have meaning for my mum and Dad. As they live by the sea I have added some paper from the “By the Sea” collection.
My parents have lived in Spain for years, the houses on this paper remind me of Barcelona they look bright and sunny and very European.
I love that graphic45 make coordinating stamps for the paper. The sets for this collection (Artisan Style) are gorgeous and I have used lots of stamping on plain coloured cardstock to make photo mats and decorate the pages.
I could not resist turning the doors into a little photo spot. I have also used stamps to add paint brushes and music as Dad played the Guitar and painted all his life. He also wrote and loved books so pens and books appear throughout. He was a colourful character who lived a full and creative life and the bright rich colours of G45 paper reflect this. I am entering this in the Mini Album Makers Challenge for March. https://minialbummakers.blogspot.co.uk/