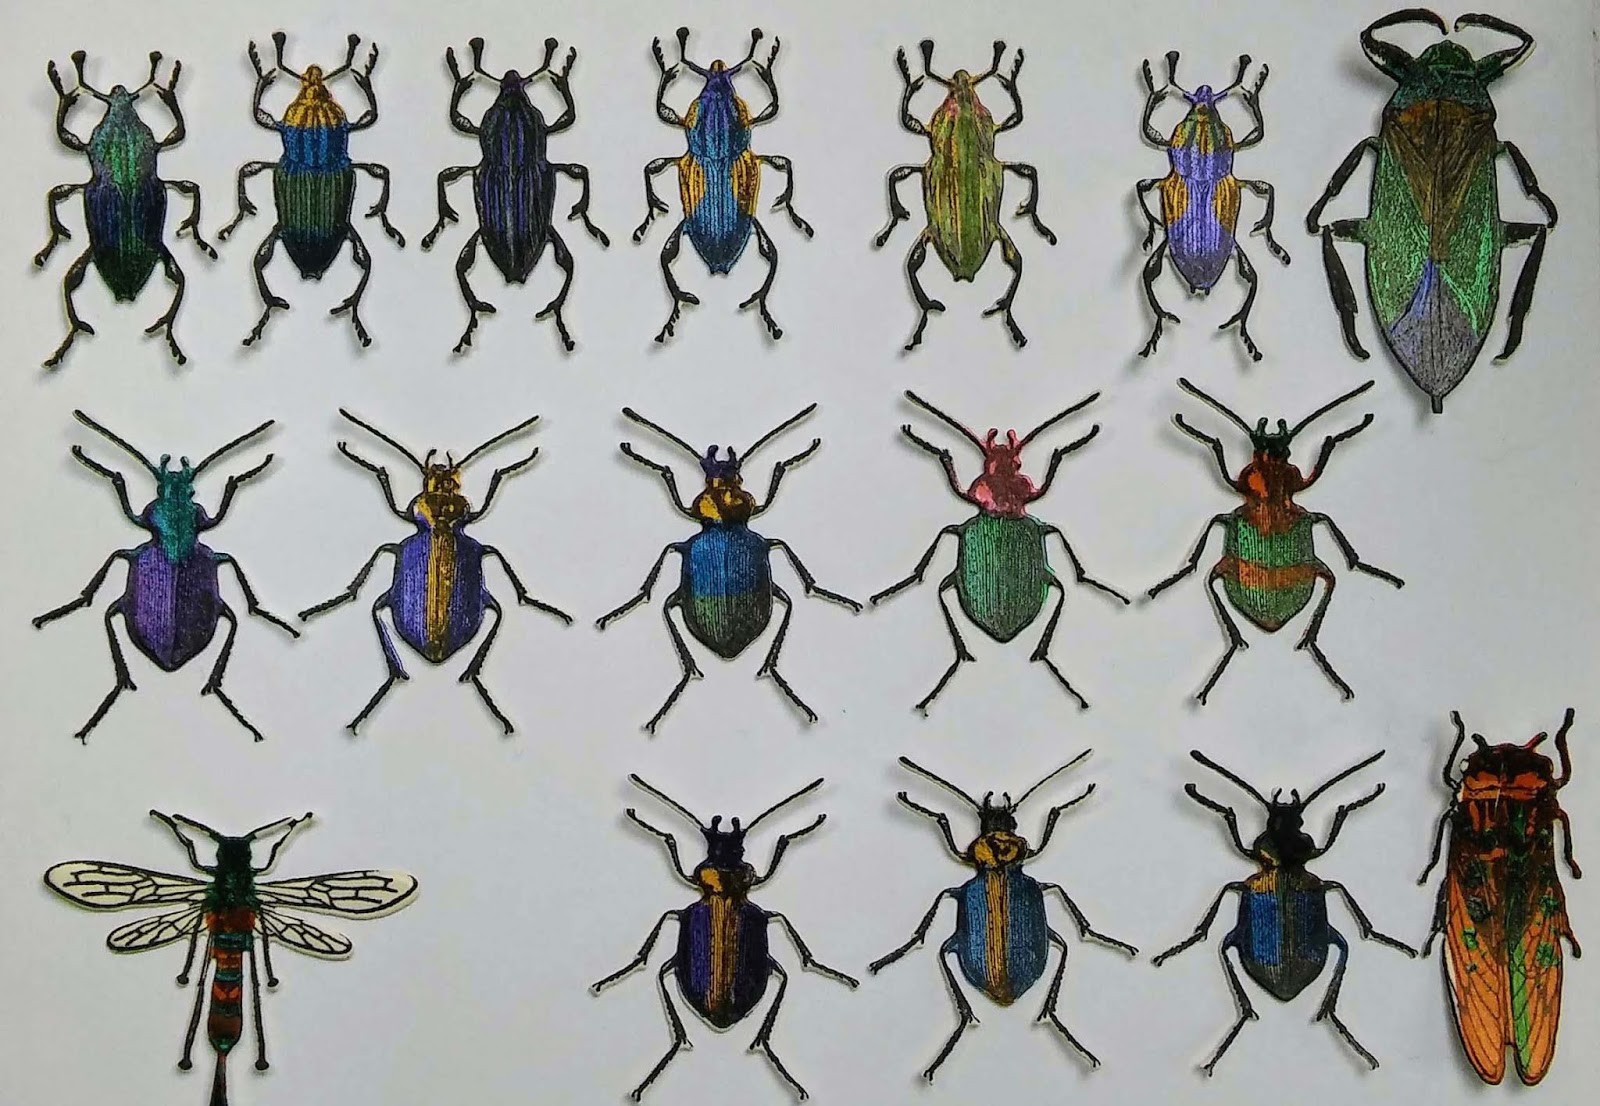
I was excited when Tim Holtz brought out the Entomology stamp set not only did it have a really useful text stamp it had lots of insect that look like they were taken from vintage engraved illustrations. I have posted a
bug box project made with the set. I was quite happy to fussycut this single bug but it would have been very easy to chop off a leg or two so I am delighted Tim has brought out a set of Framelits to go with this set. I have been playing and experimenting for most of this week in my spare moments. I thought I would share a few tips and lots of lovely bugs before they crawl off into a project.
I tried the bee first as who doesn't love bees. I wanted to see if it worked with just the normal two plates in a single pass. As I expected it did not cut cleanly but you are recommended to use a precision plate with intricate dies and these are very intricate. Next I used my Bigshot and a Cherry Lynne metal precision shim plate. I cut all of the bugs in a single pass. They all cut perfectly with no difficulty popping them out.
I cut out eight more bees and each one worked perfectly. The dies are amazing my best buy in ages.
To get the best alignment for all the legs and antenna use the tiny holes at the end of each one and try and line them up so you see black through
every hole. This worked perfectly 98% of the time. Any tiny white edges can be inked with a touch of distress black soot. I wanted to see them coloured so I got out lots of different paints, and Perfect Pearls. On a piece of cream card I drew around the dies and painted lots of the bodies. Once they dried I stamped over them and ran them through the big shot using the framlits. It is hard to colour them this way and achieve perfectly placed colours but I did want to try out lots of the materials I had.
A more precise colouring is possible if you stamp in black archival ink, heat emboss and then colour with markers or use a fine brush with inks or nice fluid paint.
Now I have a bug collection to play with.